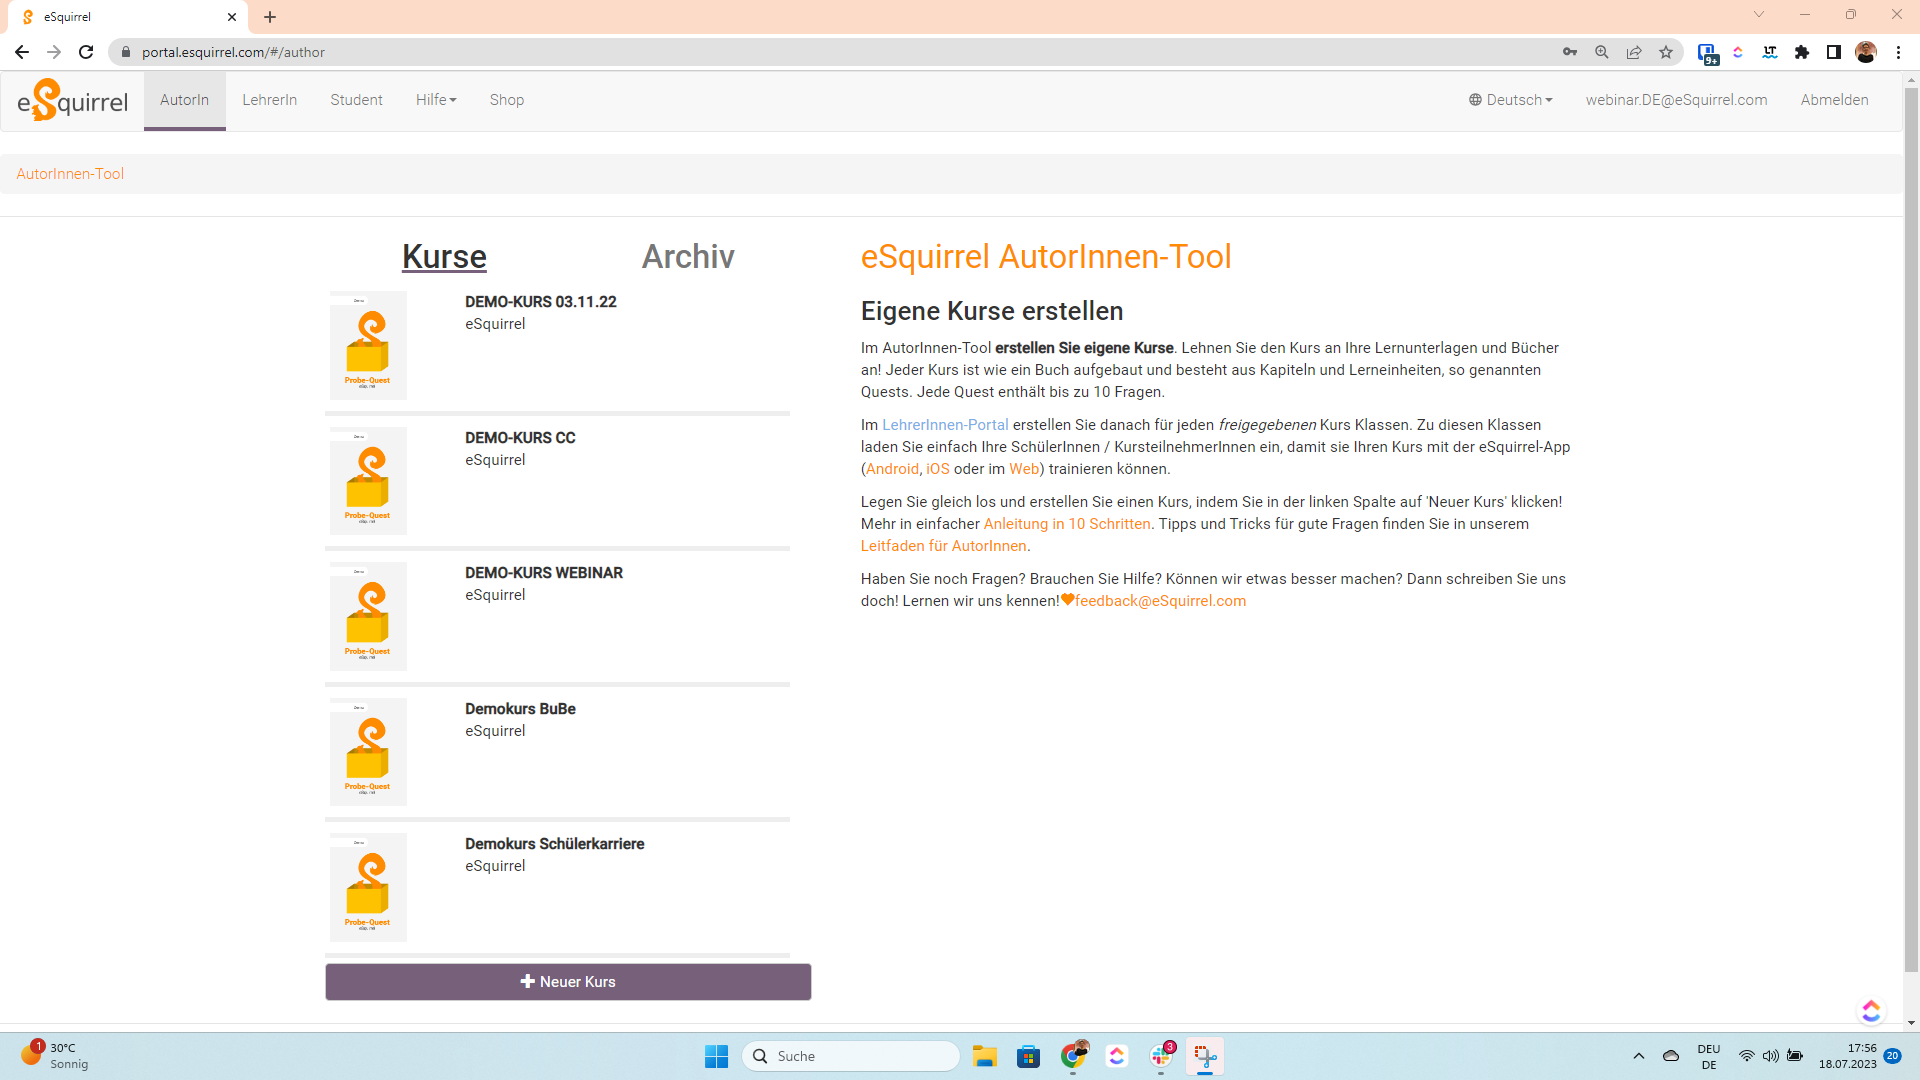
Create your own courses

How to implement your own content with eSquirrel: Free & ad-free

Use our free author tool for your lessons and create your own content. The courses you write will only be visible to you (including up to 4 other authors) and your students. Would you like to publish your content for the general public? Get in touch with us.

Instructions – step by step

YouTube

By loading the video, you agree to YouTube's privacy policy.
Learn more

Load video

Advice

This video explains the steps to create your own eSquirrel courses. On our YouTube channel you can find further explanatory videos about the teacher portal for your lessons.

For detailed instructions on how to create eSquirrel courses and how to use the different question formats, see your authors guide.

Sign in or create an account

  • Open the link to the “portal”.
  • If you don’t have an eSquirrel account yet, you can create one by clicking on “create account”
  • After having entered your data, you will receive a confirmation email (if you have registered with an e-mail address) or text message (if you have registered with your mobile phone number). 
  • Click on the link sent to you to complete the creation of your account. 
  • You can then easily log in with your credentials.

Switching to the author tool

  • Click on “author” at the top left of the teacher portal.
  • On the left side under “courses” you will later see an overview of the courses you have created.
  • Click on the button “+ new course” to create a new eSquirrel course.

The structure of an eSquirrel course is based on the structure of traditional textbooks and comprises three levels

  • Chapters
  • Quests
  • Tasks

Creating chapters

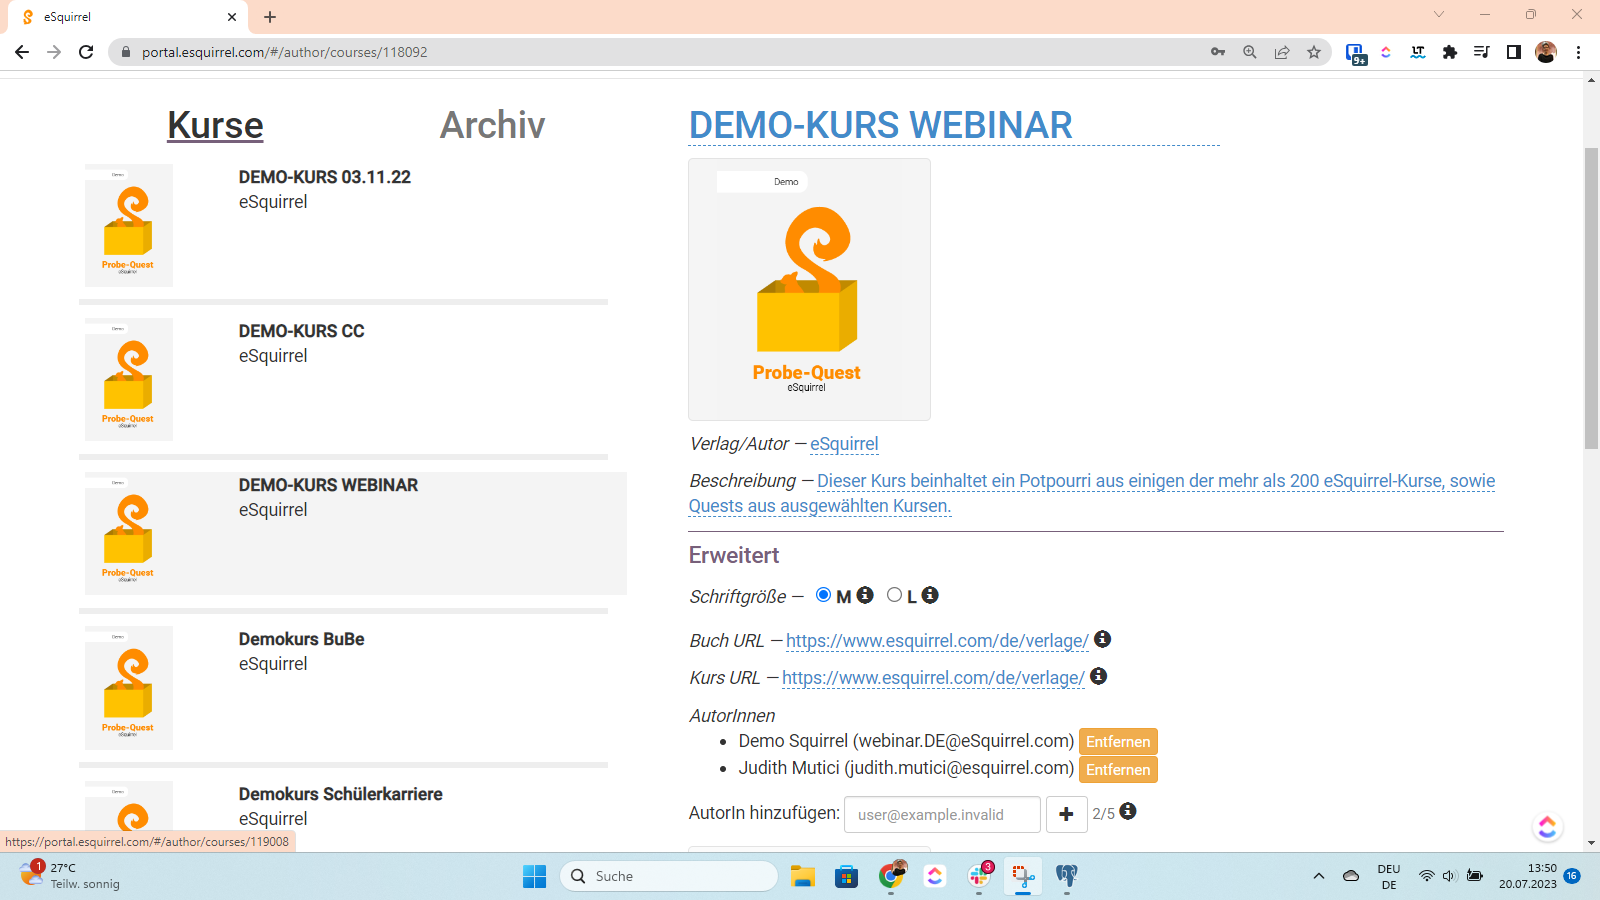
  • You can now enter the following general information about the course:
    • Course name
    • Publisher / Author
    • Course description
    • Cover / frontispiece
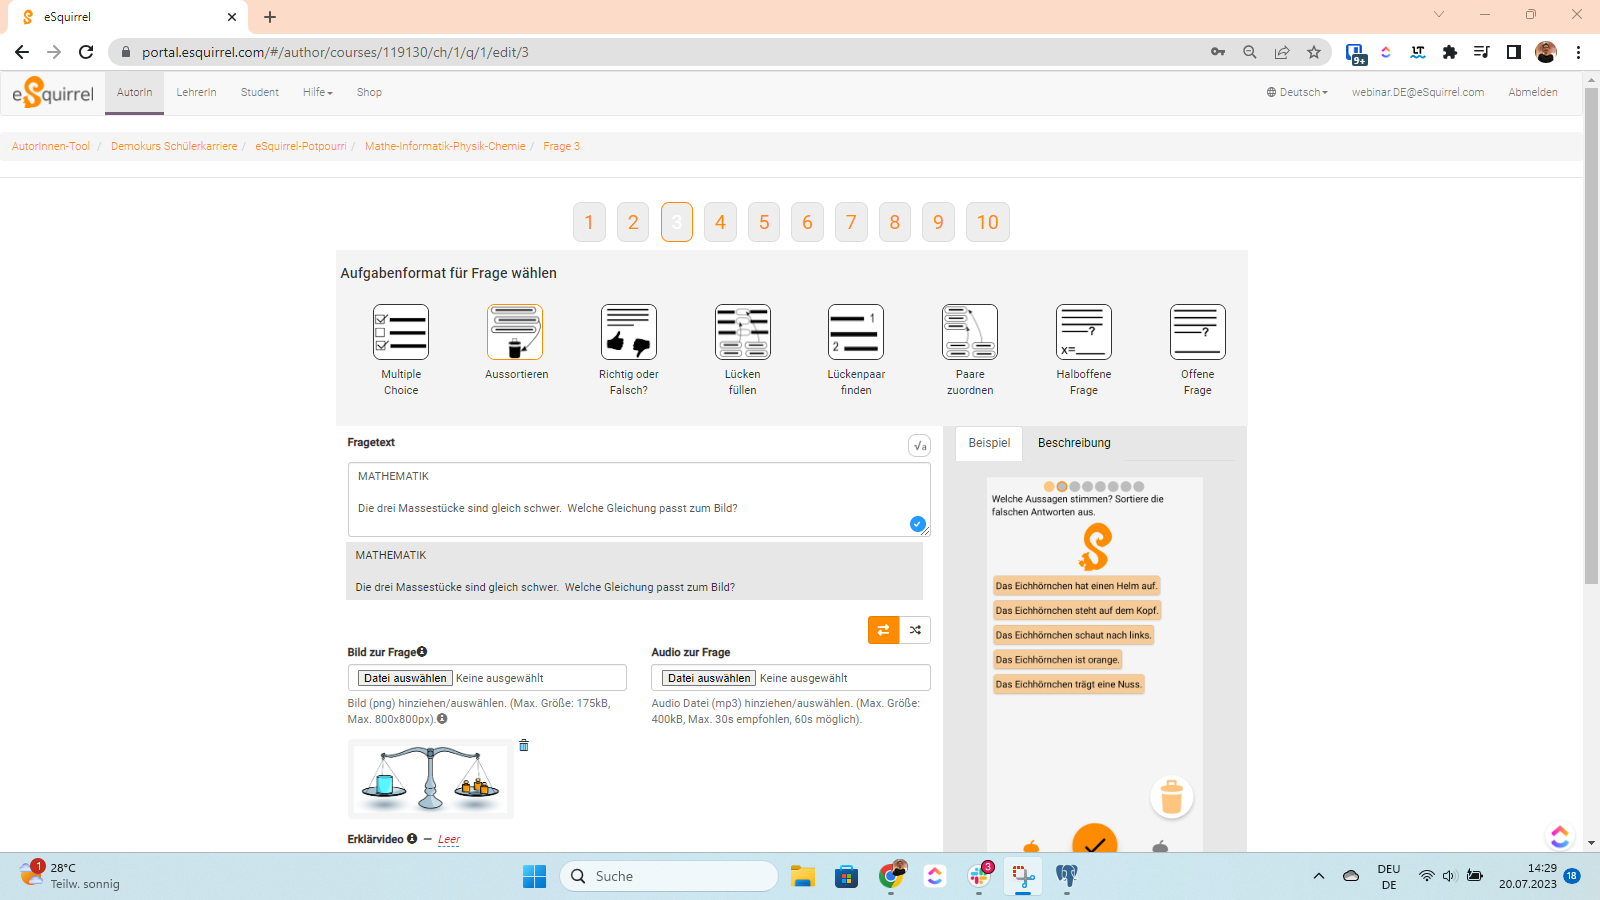
  • Click on “advanced” to carry out further settings:
    • Change font size
      eSquirrel-Portal AutorInnen-Tool Schriftgröße ändern
    • Ad a link to the book or course
    • Add more authors (up to 5 authors)
  • Enter the name of the chapter in the input field “chapter name”.
  • Confirm with the enter key of by clicking on the plus sign.
  • Assign colours

  • Then click on the chapter name to edit the respective chapter and create quests.
  • Individual chapters can be moved using drag and drop.

Creating quests

In each chapter you have the possibility to create as many quests as you like. A quest is a subchapter (micro learning unit) that contains up to ten questions.

  • Enter the name of the quest in the input field “quest name”.
  • Confirm with the enter key or by clicking on the plus sign.
  • Colours can also be assigned.
  • You can also delete the quests or move them using drag and drop.

Creating questions

You can create up to ten questions per quest.

Choose from the eight different question formats and enter the question, correct answer(s) and distractor(s). The 8 different question types enable students to acquire skills in a sustainable way.

  • Multiple choice
  • Sorting out wrong answers
  • Correct or incorrect
  • Fill in the gaps
  • Find pairs of gaps
  • Match pairs
  • Semi-open questions
  • Open questions

You further have the option to upload a picture, audio file or link to a video for each question. It is also possible to enter mathematical formulae via LaTex.

Test and publish your course on your smartphone

To see how your self-created course will look, you can test it as a preview on your smartphone as often as you like.

  1. Click on the “preview” button in the course’s table of contents.
  2. Install the eSquirrel app on your smartphone and log in with the same credentials you have used in the portal / author tool to create the course.
  3. In the eSquirrel app, select your self-created course (marked with the loop “preview”) and view your questions from the student perspective.
  4. You can make changes to the questions as needed and create as many more previews as you like.

When you are satisfied with your course, click the “release” button. After this approval, you can select the course in the teacher portal under “create class +” and use it to teach.


Attention: After approval, you can no longer delete or move created chapters, quests and questions. However, you can overwrite them (e.g. correct typos) or fill them with other questions.

Do you have any further questions?

You can also print out our guide: Guidelines.pdf 

If you have technical or content-related questions, please write to us at [email protected]